With a reassembled keyboard, a previously repaired CRT and a previously repaired mainboard we’re ready to stick the PET together and fire it up for further testing. 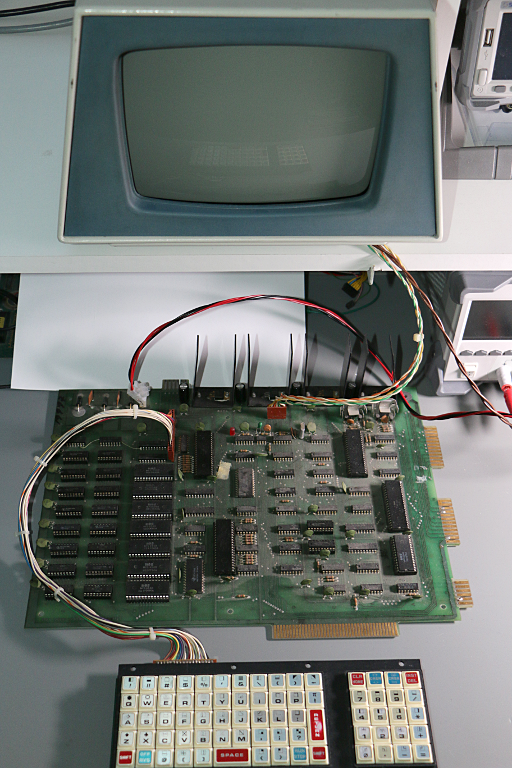 We use separte channels on the power supply for mainboard and CRT and turn Over Current Protection on – just in case…
A piece of white paper behind the mainboard will help to localize any magic smoke trying to escape. No, hopefully not! It’s just to hide the usual random stuff scattered on a bench.
Well, then! Take a deep breath! Cross your fingers! Push power button #1 (CRT)! Oookaaaay. No arcing. No smoke. OVP did not trip. A current flow of about 130 mA sounds reasonable. So far, so good. Take another deep breath and turn on channel #2 (mainboard)!
…
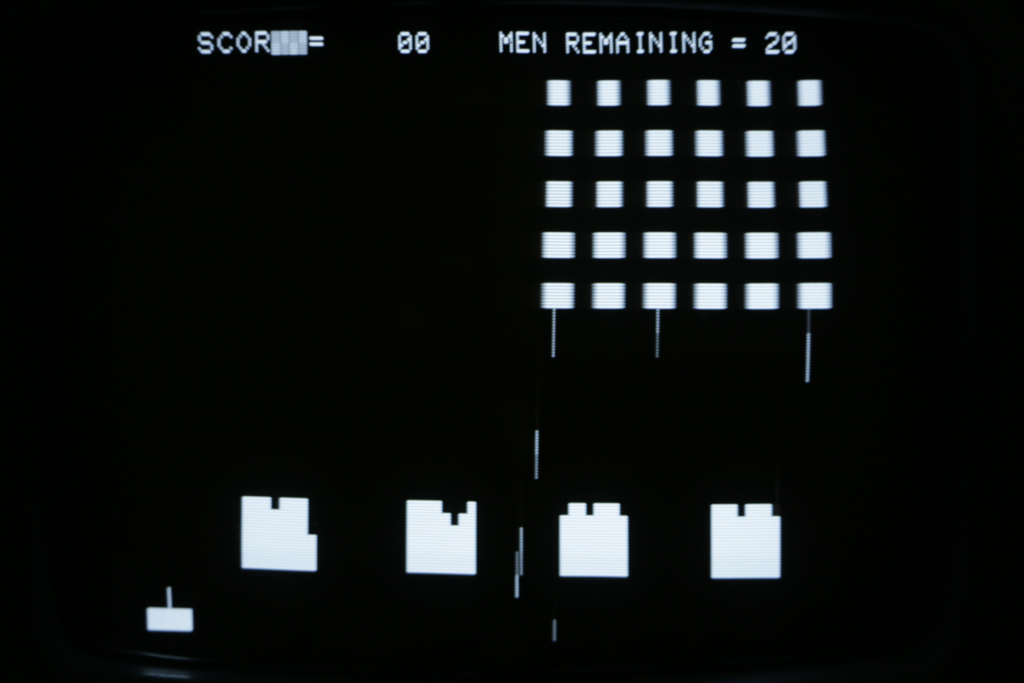
 Uuaaah!!! I’d like to point out that this is not exactly what I was looking for. But no arcing, no smoke, no OVP trip either. About 2.5 A current flow is ok as well.
To the oscilloscope!
Horizontal sync, vertical sync and pixelstream are looking good, so we can’t blame it on the main circuitry. Oh, great! That means we’ll have to do probing on the CRT circuit board – close to the high voltage area. Any volunteers?
Fortunately it was much easier than I thought. Most errors are sitting in front of the machine, as the saying goes. You bet! I knew that the CRT needed 12 V to operate and that was precise what the power supply was set to. Nothing to complain, right? Well, as soon as I looked at the schematic I realized that the 12 V voltage regulator is situated inside the CRT and not on the mainboard. It’s a standard 7812 type regulator, so we have to add the dropout voltage of 2 V to the regulated output voltage. After changing channel #1 to 14.5 V the PET welcomes the RetroChallenge audience:
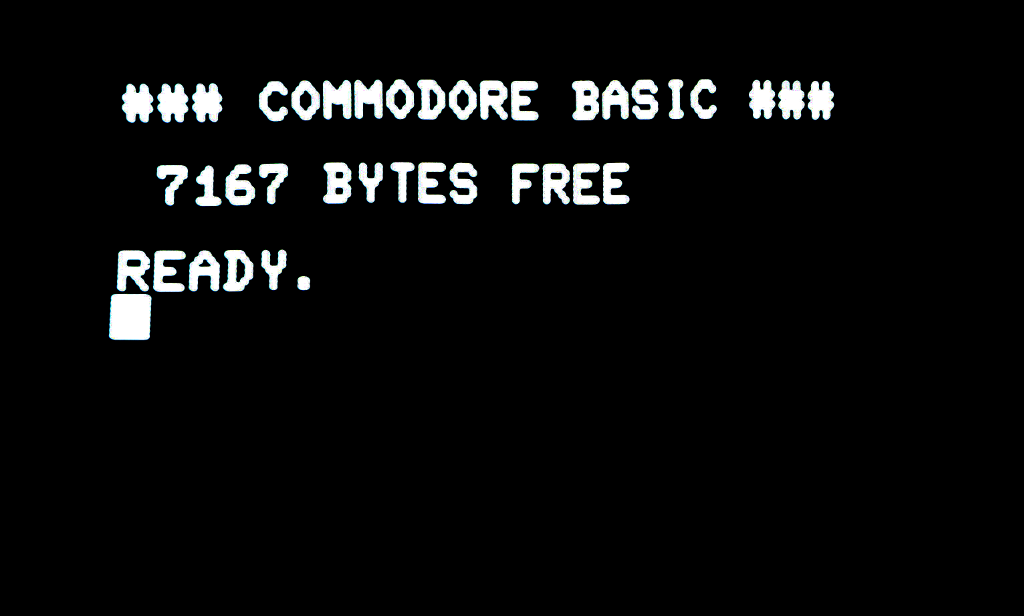
YEAH! That feels good! 🙂 A trivial BASIC program works as intended:

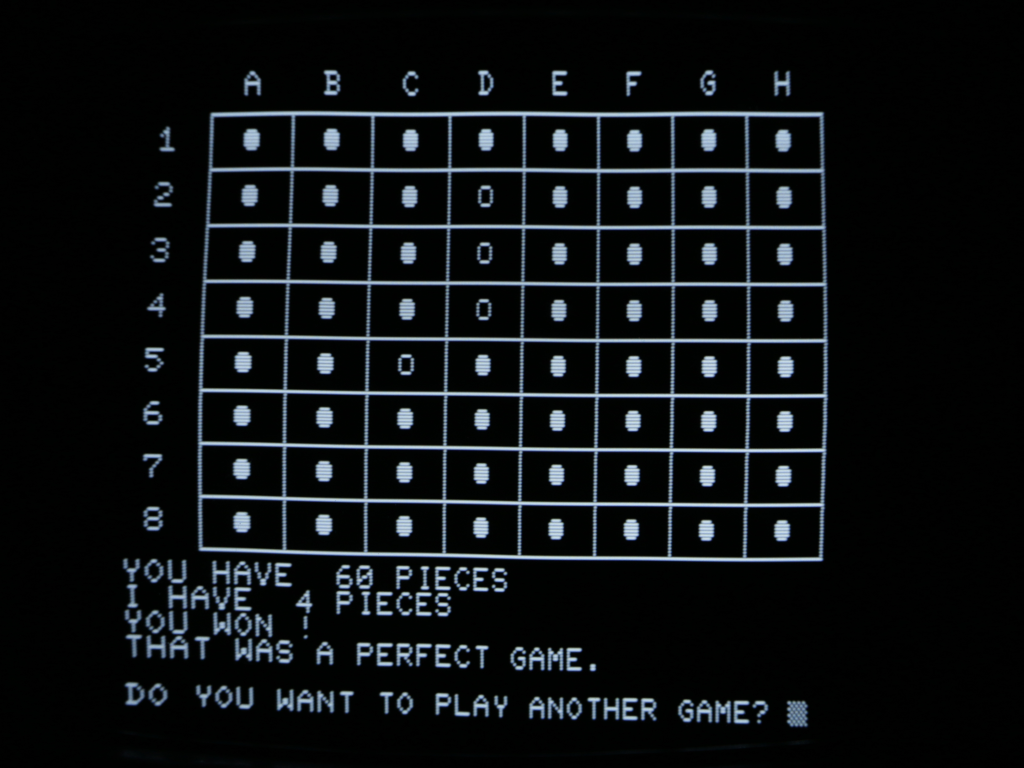
It’s running at cyberspeed <ahem>, so the last digit shows some ghost pixels. I checked the tape interfaces with an external Datassette and both were fine. But all attempts to get a device running on the IEEE-488 bus (aka GPIB) failed. Before we investigate this issue any further, we need to perform some more comprehensive tests:

Ahhh, it’s been the golden age when humans were able to outplay computers…
Ok, RetroChallenge is no amusement hall. We have a mission! Let’s track the IEEE-488 issue down! There are two 6520 Peripheral Interface Adapters (PIA) in a PET 2001, one acts as IEEE-488 bus controller, the other one mainly as keyboard controller and as datassette port controller to some extend. Keyboard and datassette ports have been verified. A simple swap should tell if the GPIB PIA is dead. When I had lifted the GPIB PIA out of its socket I found some residue on the pins as well as on the socket.

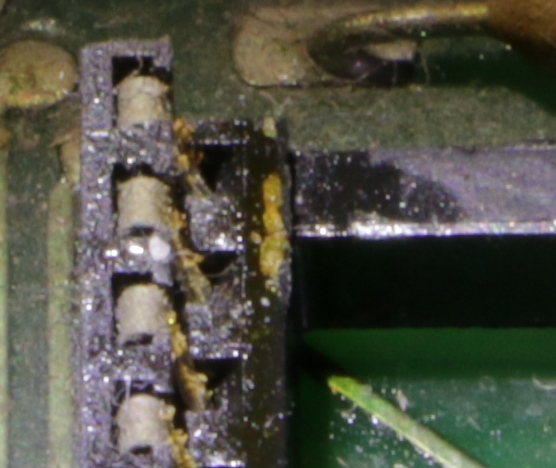
A toothbrush in collaboration with denatured alcohol removed it easily. A quick check (after PIA had been reinserted) verifies we have a working GPIB now! Hurray!


I call that a running system – the PET has been reanimated. RetroChallenge Mission #1 accomplished.