Time is short so let’s skip the part where we draw schematics. I thought it would be more fun to show you how the circuit develops and explain it along the way.
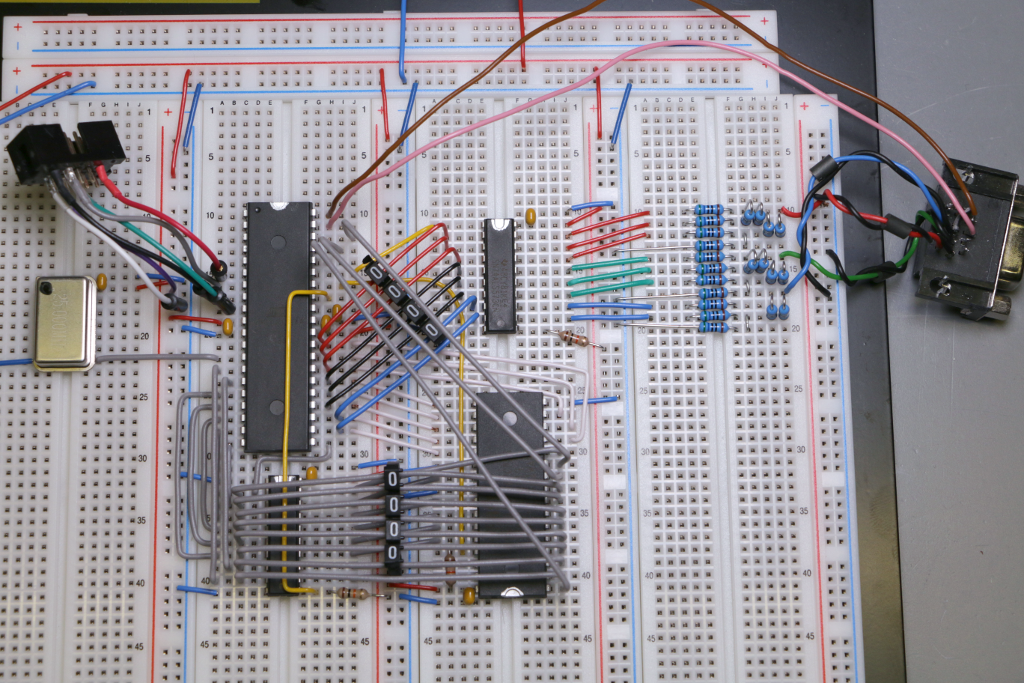
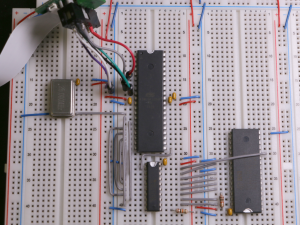 A golden rule in (high speed) digital circuit layout is to keep wires/traces as short as possible and to increase the spacing between adjacent wires/traces. That helps to reduce electromagnetic interference, e.g. cross talk. Therefore the previously used test circuit has been rearranged to get the oscillator out of the way. The grey wire between the silvery can on the left and the biggest chip on the board is our clock line feeding a square wave of 25 Mhz @ 5 Vpp into the ATmega1284.
Blue wires are signal ground,
red wires are supply voltage,
grey wires are address lines and clock lines,
white wires are data lines ,
yellow wires are control lines,
(SCNR, read: ‘data lines’ and ‘control lines’)
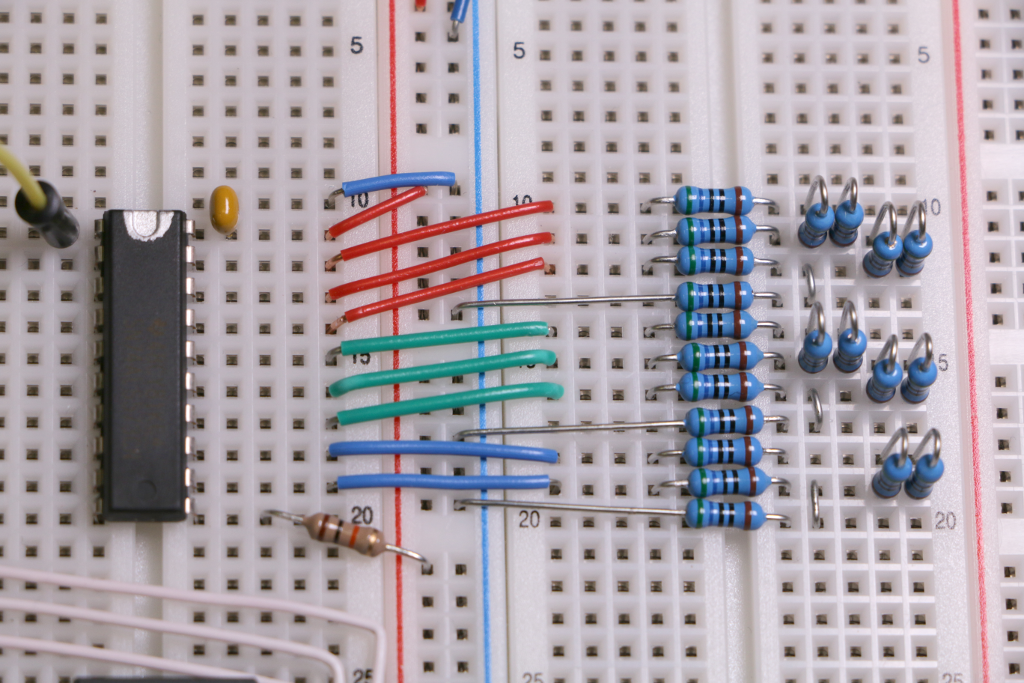
beige drops are decoupling caps,
beige or blue cylinders with colored stripes are pull-up resistors,
unless otherwise noted.
First exception: A bunch of colorful wires is leading to a connector and a flat flex cable at the top left. These are used to program the microcontroller (MCU).
There’s an address latch (74ALS573) below the MCU. Yes, I know. The ALS type is too fast for the task and may cause additional EMI issues. Unfortunately I don’t have (or can’t find) the HC type. Living countryside doesn’t help when trying to buy electronic parts on a weekend either.
The external SRAM (BS62LV4006) is situated on the right. Nineteen address lines are required to access the full 512KB. Add eight data lines, eight lines for communication to the user port of the PET 2001, three control lines, two video sync lines and you’ll get ERROR! OUT OF I/O PINS! The solution is a buffer store aka latch:
Port D of the ATmega is connected to the SRAM via the address latch. Thus it can output the first byte of an 19-bit-address while in transparent mode, then switch to latch mode. The address latch keeps this bit pattern on its output pins, regardless of any state changes on its inputs until it is switched back to transparent mode. Now Port D can output the second address byte.
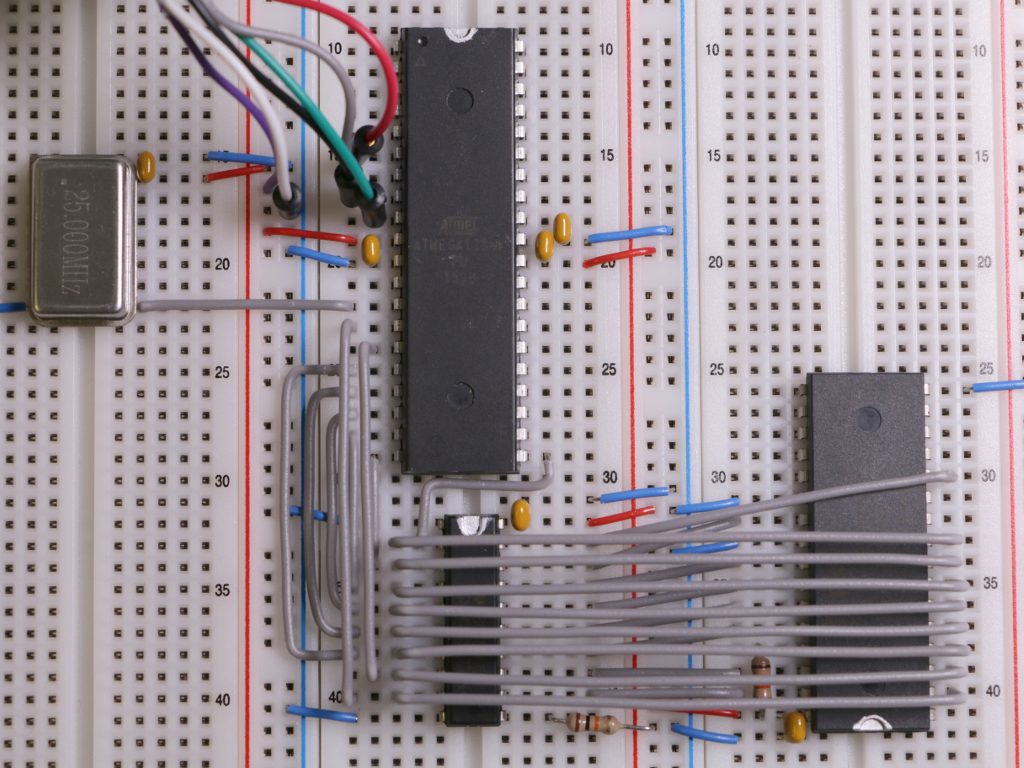
Additional eight wires are routed from Port D to address pins on the other side of the SRAM.
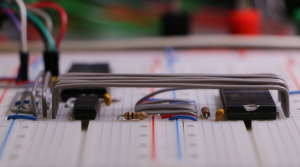
Avoiding long wires means implementing a second layer. This is a small, easy project on a breadboard.
Now we connect Port C to the data bus…
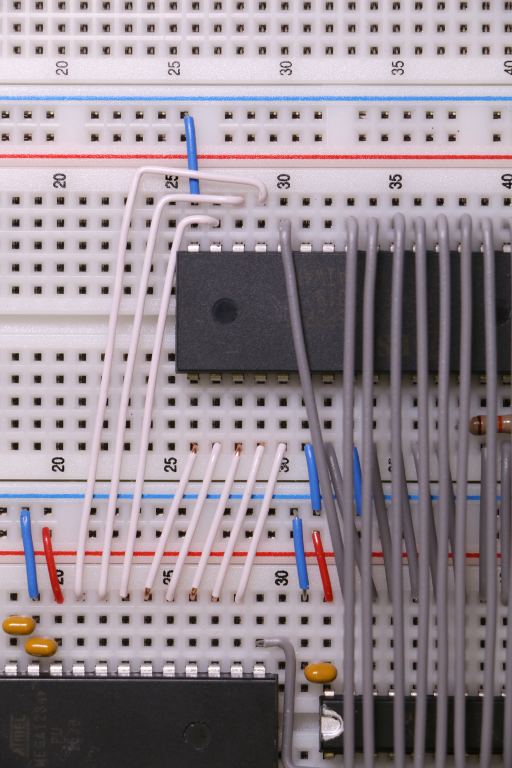 … and add a simple R-2R resistor ladder network as Digital Analog Converter (DAC):
Please note that there is a second latch! It will separate the data bus from the DAC while data is written to the SRAM, because otherwise we would get flicker at least. Most likely the horizontal and/or vertical synchronisation would fail.
The last picture shows the complete CHRE circuit including a third layer of address lines, five control lines (latches, SRAM Read/Write, Hsync, Vsync) connected to Port A and some spacers on the second layer.
Now on to firmware development. Hurry up!!! Only 1.5 days to go…